
Hider strategy
How to Win as a Hider in ChromaHide: A Real Camouflage Strategy Guide
Practical hider tactics for ChromaHide: how to pick a spot, match materials on purpose, hold a pose that survives a second look, and avoid the mistakes that get hiders tagged first.
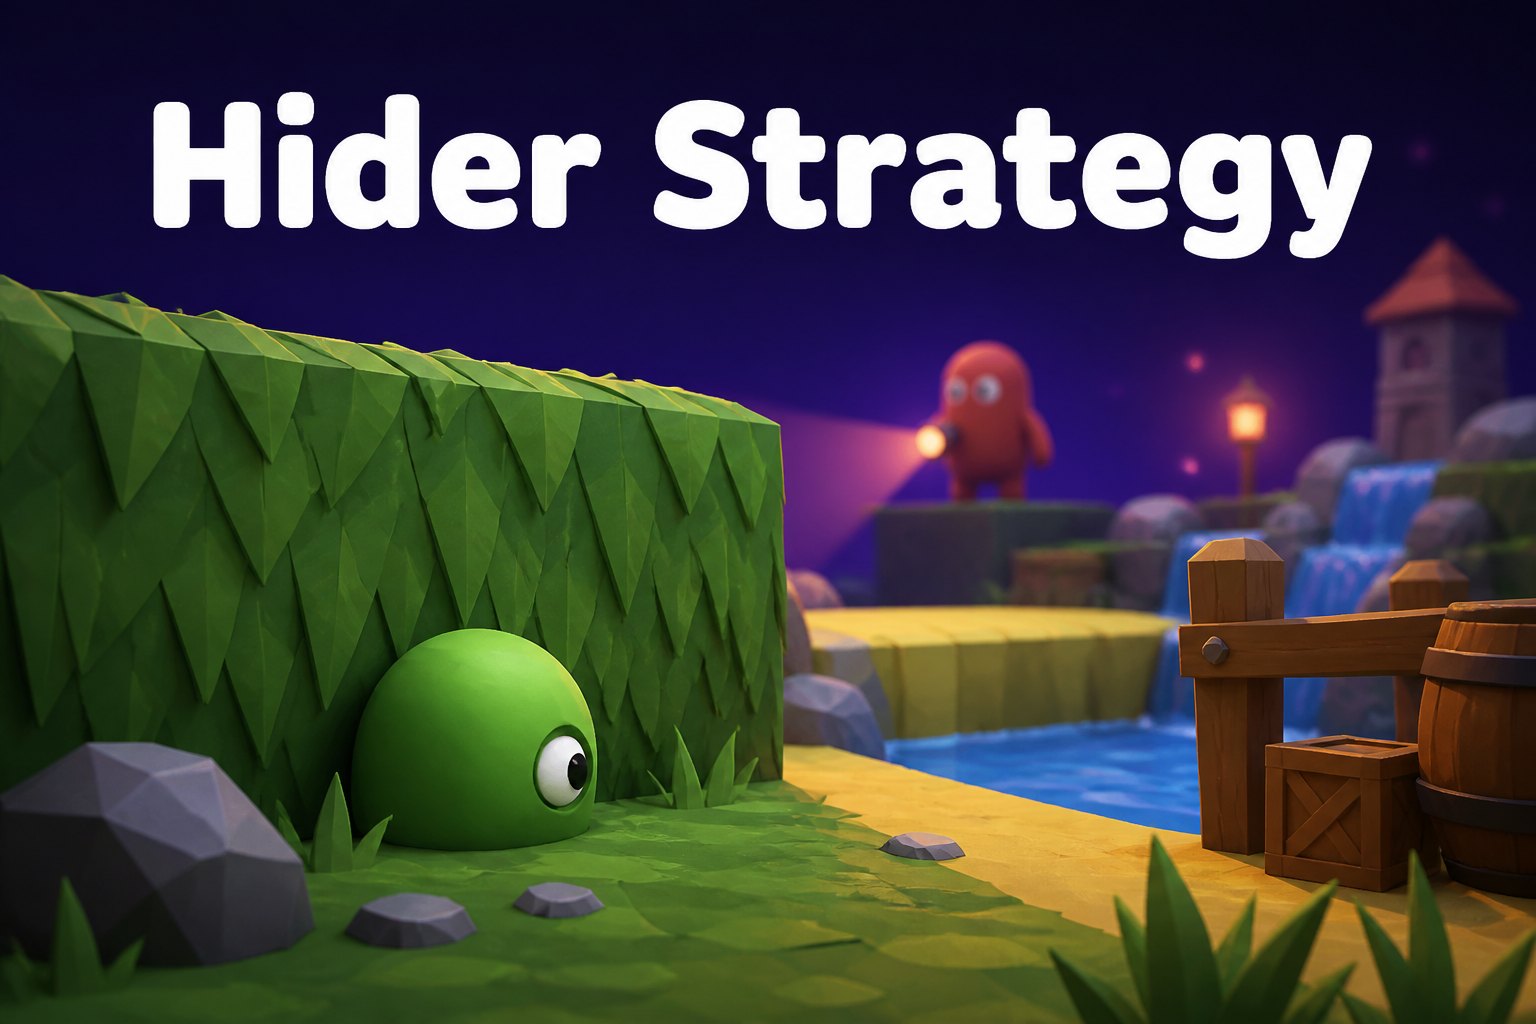
Most new hiders lose for the same reason: they treat camouflage like picking a paint color instead of building a disguise. You press “2” for concrete, stand near a gray wall, and hope. Then the seeker walks past twice and catches you anyway, because the color matched but nothing else did.
ChromaHide doesn’t have an invisibility button. There’s no material that hides you completely. What actually keeps you alive is a combination of four things working together: the right material, the right spot, the right body angle, and the discipline to stop moving. Miss one of those and the other three don’t save you.
Camouflage is four decisions, not one
Material. You have six options — grass, concrete, wood, carpet, sand, and shadow, mapped to keys 1 through 6. Pick based on what’s actually next to you, not what’s closest on the number row.
Spot. A matching color against an open wall is still a silhouette. A matching color tucked into a corner, behind a crate edge, or against a cluttered surface breaks up your outline and gives the seeker less clean shape to notice.
Alignment. Rotate so your body follows the lines of the surface you’re hiding against. A character standing at a random angle in front of a straight wall reads as “wrong” even at a glance, before the seeker even processes color.
Stillness. Freeze once you’re set. Every frame of unnecessary movement is a frame where the seeker’s eye catches you, and movement reads through camouflage that would otherwise hold up fine.
Get three of four right and you’ll still get caught. Hiders who survive full rounds treat this as one setup, not four separate choices made independently.
Use the hiding phase to scout, not just to hide
The prep window between role reveal and the seeker’s release is short, and most hiders spend all of it walking to the first decent-looking wall they see. That’s a mistake. Spend the first few seconds actually looking at the map: where are the other hiders going, where does the seeker spawn, and where are the surfaces that offer both a color match and physical cover.
Avoid hiding near where other hiders cluster. Seekers naturally sweep high-traffic corners first because that’s where the most tags happen, and a group of hiders near the same crate means one bad freeze blows the whole group’s cover. Spreading out costs you nothing and forces the seeker to search a wider area before your time even comes up.
Also avoid the spot closest to your spawn point. It’s the first place an experienced seeker checks, precisely because it’s the laziest choice, and lazy choices are common.
Read the material list like a toolkit, not a menu
Each material works differently depending on where you use it:
- Grass blends well in open outdoor zones but does nothing for you against a gray wall. Use it near planters, turf strips, and green panel zones, not because it’s your favorite color.
- Concrete is the safest generalist near walls, columns, and structural gray surfaces, but it’s also the most common choice, so seekers check concrete-colored zones first out of habit.
- Wood works against crates, paneling, and furniture pieces. It pairs well with corners because wood grain already breaks up a silhouette a little on its own.
- Carpet is strongest indoors near soft-colored floor zones and low furniture, and weakest anywhere with hard, cold surfaces nearby.
- Sand is a narrow-use material. It only reads as convincing near actual sand zones, so don’t reach for it just because a wall looks vaguely warm-toned.
- Shadow is the highest-risk, highest-reward pick. It only works in genuinely dark corners or light-cone gaps, but a well-placed shadow hider is often the last one standing because seekers scan lit areas first.
The full breakdown of where each zone actually appears on the map is worth a separate read if you want exact spot recommendations — see the ChromaHide camouflage and map guide for zone-by-zone detail.
The freeze is the whole game
Once you’ve matched material, picked a spot, and aligned your body, your only job is to stop. This is harder than it sounds, especially in the last ten seconds of a round when the timer pressure makes people twitch toward the crosshair or lean to check if the seeker is coming.
A few rules that hold up round after round:
- Commit to your freeze before the seeker is anywhere near you. Adjusting your pose while a seeker is scanning the room is how good hiding spots turn into tags.
- If the seeker walks past without slowing down, stay frozen. The instinct to relax the second danger passes is exactly when careless hiders give themselves away.
- If you hear or see the seeker using scan, don’t panic-move. Scan gives vague nearby feedback, not your exact position — moving in response to it is usually what actually gives you away.
- Small, believable stillness beats a dramatic pose. An overly specific frozen animation in a spot that doesn’t call for one can look more suspicious than a plain, still character.
Know when a spot is already burned
Not every spot is worth defending until the timer runs out. If a seeker has already checked your zone once, tagged a hider two feet from you, or is visibly circling back toward your corner, staying put is a bet, not a strategy. Sometimes the better move is a slow, careful reposition to a spot the seeker has already cleared — seekers rarely double back to a zone they consider “done,” which makes a just-searched area one of the safer places left on the map in the final phase of a round.
This is a judgment call, and it’s the difference between hiders who survive one round by luck and hiders who survive consistently. Watch the seeker’s pattern, not just your own hiding spot.
A pre-round checklist that actually works
Before you freeze for real, run through this fast:
- Does my material match what’s actually next to me, not just what’s nearby?
- Is my body angled with the surface, not floating at a random rotation?
- Am I tucked against an edge, corner, or object, not standing in open space?
- Are other hiders clustered near me, and should I move further away?
- Am I in a spot the seeker is likely to check first, like near spawn or in the open?
If you can answer all five well, you’ve built an actual disguise instead of just picking a color. Pair this with a seeker’s-eye view of the map by reading the ChromaHide seeker strategy guide — knowing what seekers are trained to look for is the fastest way to stop giving it to them.
Ready to put this into practice? Play ChromaHide free and open a private room with friends, or check how to play for the full rules before your first round.
Related reading

ChromaHide Camouflage Guide: Every Material and Map Zone Explained
A zone-by-zone breakdown of ChromaHide's six camouflage materials, grass, concrete, wood, carpet, sand, and shadow, and where each one actually blends in instead of standing out.

How ChromaHide's Private Rooms Work: Invite Links, No Accounts, No Downloads
A host's guide to ChromaHide private rooms: how invite links work, what friends need to join, who should and shouldn't get a room code, and what to do when a match gets stuck.

How to Win as a Seeker in ChromaHide: Reading Movement, Silhouettes, and Bad Camouflage
Seeker tactics for ChromaHide: a real search pattern, how to use scan without wasting it, and the visual tells that give hiders away even when their color matches.