
Camouflage guide
ChromaHide Camouflage Guide: Every Material and Map Zone Explained
A zone-by-zone breakdown of ChromaHide's six camouflage materials, grass, concrete, wood, carpet, sand, and shadow, and where each one actually blends in instead of standing out.

Hiders get six materials, mapped to keys 1 through 6: grass, concrete, wood, carpet, sand, and shadow. New players tend to pick whichever one looks closest to the nearest wall and call it done. That works some of the time. It doesn’t work often enough to survive a full round against a seeker who knows what to look for.
The real skill isn’t memorizing six colors. It’s knowing which zones each material was built for, and knowing the difference between “close enough” and “actually convincing.”
1. Grass
Grass reads as a soft, saturated green and works best in open outdoor sections, planter strips, and any turf-style floor zone. It’s a strong pick when you’re near natural or landscaped areas of the map.
Where it fails: indoor rooms, stone corridors, and anywhere the surrounding palette is gray, brown, or neutral. A grass-colored hider standing on a concrete floor is one of the easier catches in the game, because the color has nothing around it to blend into.
Best use: open-air zones near planters or turf, ideally combined with a low crouch near foliage-adjacent geometry rather than standing in the open middle of a grass patch.
2. Concrete
Concrete is the generalist. It’s a neutral gray that passes a glance near walls, columns, structural beams, and most of the arena’s hard architecture. It’s also the material every new player defaults to, which means seekers check concrete-colored zones first out of habit.
Where it fails: warm-toned rooms, wood-paneled sections, or anywhere the lighting shifts concrete’s gray into an obvious mismatch with a warmer surface.
Best use: structural zones like columns and load-bearing walls, especially when paired with a corner that breaks up your silhouette. Avoid using concrete just because it’s the “safe” default; a seeker who has played more than a few rounds checks gray surfaces first precisely because so many hiders do this.
3. Wood
Wood covers crates, paneling, furniture pieces, and any brown-toned built structure. It’s a strong pick around clutter, since wood grain already interrupts a clean silhouette a little on its own, which helps against seekers scanning for shape rather than color.
Where it fails: open floor zones, stone rooms, and metallic or painted surfaces where brown has nothing to match.
Best use: near crate stacks, paneled walls, and furniture clusters, ideally tucked at an angle where your outline lines up with a crate edge instead of standing in front of open wood paneling.
4. Carpet
Carpet is a softer, muted tone suited to indoor floor zones and low furniture. It reads well in rooms with warm indoor lighting and soft-colored flooring, and poorly almost everywhere else.
Where it fails: anywhere with hard, reflective, or cold-toned surfaces nearby. Carpet against stone or metal is an obvious mismatch, both in color and in the way light hits each surface differently.
Best use: indoor rooms with matching floor tones, particularly near low furniture where you can align your body close to the ground-level silhouette of the object.
5. Sand
Sand is the narrowest-use material in the game. It only reads as convincing in genuine sand zones, and it’s tempting to reach for it because it looks “warm” or “light,” which is exactly the mistake that gets sand-camouflaged hiders caught in non-sand rooms.
Where it fails: everywhere that isn’t an actual sand zone. This is not a flexible, general-purpose pick.
Best use: sand zones only. If the map doesn’t have one nearby, don’t use this material as a compromise choice.
6. Shadow
Shadow is the highest-risk, highest-reward material. It only works in genuinely dark corners, light-cone gaps, or areas the arena’s lighting doesn’t reach directly. Used correctly, it’s one of the strongest picks in the game, because seekers instinctively scan lit, high-visibility areas first and treat dark corners as secondary.
Where it fails: anywhere with direct light. A shadow-material hider standing in a lit zone is arguably more visible than a mismatched color would be, because the material reads as an obvious dark blob against a bright background.
Best use: genuine shadow pockets, light-cone gaps between fixtures, and dim corners the seeker’s route is likely to reach last. Shadow hiders who also nail alignment and stillness are frequently the last ones standing.
Matching material to zone, not zone to material
The mistake to avoid is working backward: picking your favorite material first, then looking for somewhere it half-works. Do it the other way. Walk into the hiding phase, look at what’s actually around you, and let the environment decide your material. A hider standing next to a crate should be thinking “wood,” not scrolling through six options hoping one of them looks close enough.
Material is only one part of a full disguise. Pair the right material choice with spot selection, body alignment, and a real freeze — the complete framework is in the hider strategy guide. And if you want to know exactly what seekers are trained to look for when they’re checking your zone, read the seeker strategy guide.
Ready to test your zone knowledge? Play ChromaHide free in a private room, or review the full control list in how to play.
Related reading
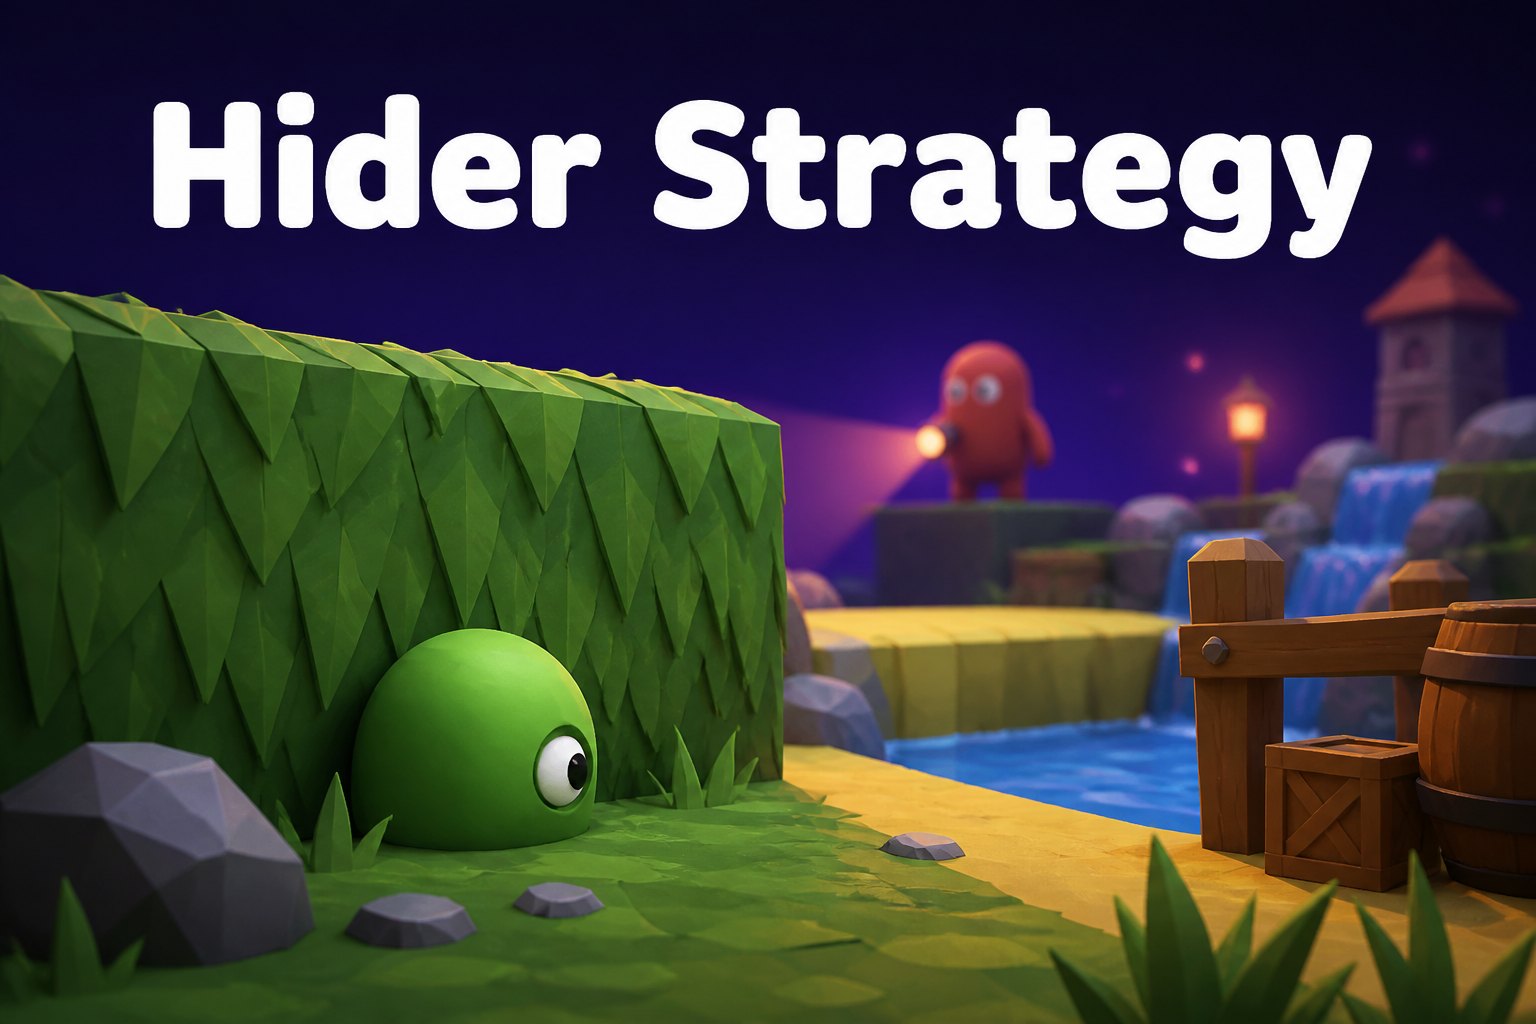
How to Win as a Hider in ChromaHide: A Real Camouflage Strategy Guide
Practical hider tactics for ChromaHide: how to pick a spot, match materials on purpose, hold a pose that survives a second look, and avoid the mistakes that get hiders tagged first.

How ChromaHide's Private Rooms Work: Invite Links, No Accounts, No Downloads
A host's guide to ChromaHide private rooms: how invite links work, what friends need to join, who should and shouldn't get a room code, and what to do when a match gets stuck.

How to Win as a Seeker in ChromaHide: Reading Movement, Silhouettes, and Bad Camouflage
Seeker tactics for ChromaHide: a real search pattern, how to use scan without wasting it, and the visual tells that give hiders away even when their color matches.